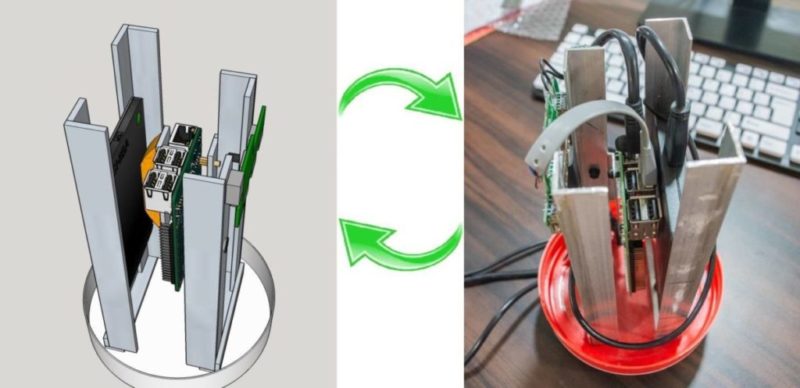
How-To: DIY Custom Enclosure for Raspberry Pi NAS Media Server
In this post, I am building the first version of an enclosure for my Raspberry PI NAS and Media Server setup. It is built using Aluminium angle profiles and a plastic container. This is more like a POC build. It’s functional but not pretty. Eventually, I want to build an enclosure that’s as functional and also looks good in the living room, next to the TV.
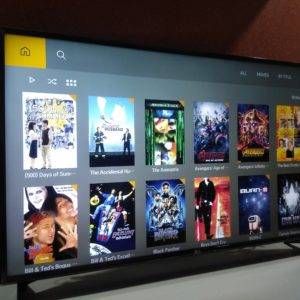
Recently, I put my Raspberry PI Model 3B+ to good use as a NAS and Media server using OpenMediaVault and Plex (write-up coming soon). It’s a very good setup for casual file share operations between devices and streaming movie/music/pictures to various devices in the home wirelessly. While the setup did its job, I did not like all the hardware just lying there next to my router. Not to mention, the scalability of this setup wasn’t very good. I have plans to add another 2 TB 2.5″ but didn’t want it to add to the clutter. I also wanted to add some cooling for the PI and more importantly, the disks. So, I decided to make an enclosure that could fit it all in and also had provision for active cooling.
After going through some ideas for the shape for the enclosure, I settled on a cylindrical design. As always, going by the requirements, I ended up choosing aluminum for the internal frame encased in a cylindrical plastic box. I chose aluminum as it’s both an excellent heat conductor and pretty malleable to work with using my limited toolset. The plastic container idea came into the picture, as I could quickly source one from the kitchen. It did have a minor negative impact on the WAF score, but nothing I couldn’t handle with a little persuasion. 😜
Parts Used
- Aluminum Profiles (Right Angle) – It’s better to source this from your local hardware store. See images below.
- A non-powered USB Hub (Amazon IN, Amazon US)
- A SATA to USB adapter if you are using an internal hard drive (Amazon IN, Amazon US)
- Assorted nuts and bolts set (Amazon IN, Amazon US)
- Micro USB to DIP connector. (Amazon IN, Amazon US). This is required to convert non-powered USB hub to a powered one. If you are already using a powered hub then skip this.
- A Raspberry PI Model 3B+ (Amazon IN, Amazon US)
I yanked the Raspberry Pi 3B+ off of my last project – Raspberry Pi-Based DIY Automated Irrigation System which now happily runs on a Raspberry Pi Zero. As I mentioned in that post, that system did not need all the processing power that the 3B+ has. This project, however, can utilize as much processing power as the Pi can provide and then some.
The Design
I came up with this simple design for the enclosure in Sketchup. Click to interact and view 3D.
The above design can accommodate two hard drives, a cooling fan, a USB HUB, and, of course, the Raspberry Pi. Right now, I have a 1TB USB drive plugged in. The cooling fan is a 12V 60mm unit which I plan to run at 5V to reduce noise. I initially designed all four vertical aluminum bars to be of equal length. However, I accidentally cut one of the bars too short and liked it that way. So, I decided to make two of them smaller. The two larger bars measure 195mm and the smaller bars measure 180mm. The mounting bars for the hard drives and the Raspberry Pi measure 70mm each. The bottom two aluminum bars which are fixed to the base and hold the vertical bars measure 80mm each. There is enough space between them to fix the 60mm fan.
Here’s an image where I have hidden one of the aluminum bars to better show how everything is fixed.
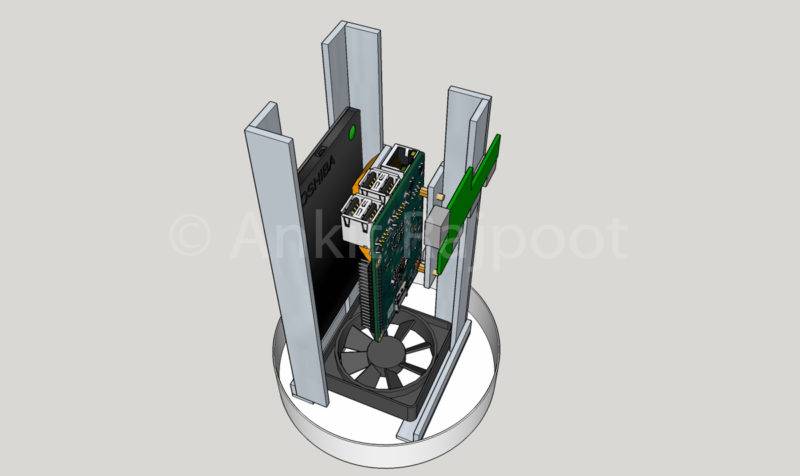
I have made the 3D design available in SketchUp 3D Warehouse. You can either download it for editing in SketchUp desktop or import into SketchUp for Web and play with it there.
Mounting the Hard Drive
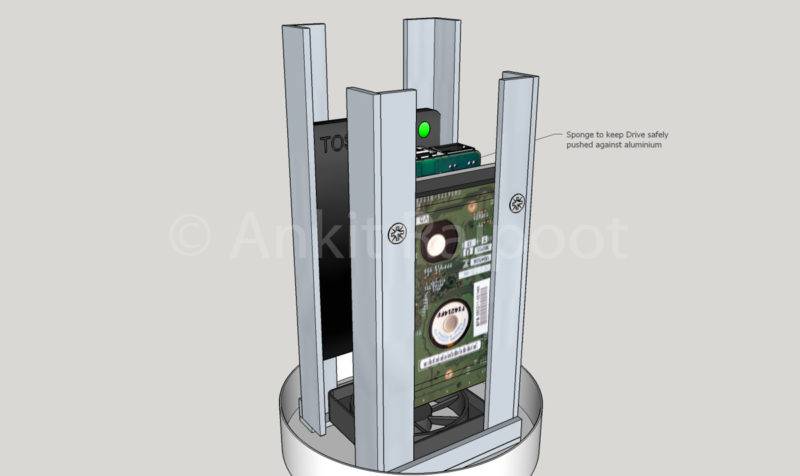
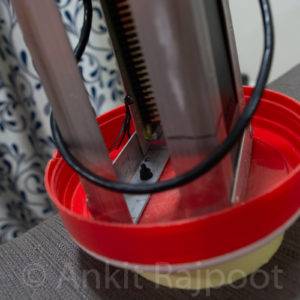
The image below shows the structure of the aluminum frame without the electronics. Notice the two aluminum bars attached to the two larger bars on the right. Those two are used for mounting and they keep the hard drive and the Raspberry PI in place as you can see in the 3D design above. I cut a small piece of sponge shaped like a “D” and glued it to one of the smaller bars to keep the drive firmly pushed in against the larger aluminum bar. The sponge is very useful since I am using a USB HDD with this setup right now which does not have any mounting screw holes. It also helps a lot in heat dissipation by keeping the drive pushed against the large aluminum bars that act as heat sinks for the drive.
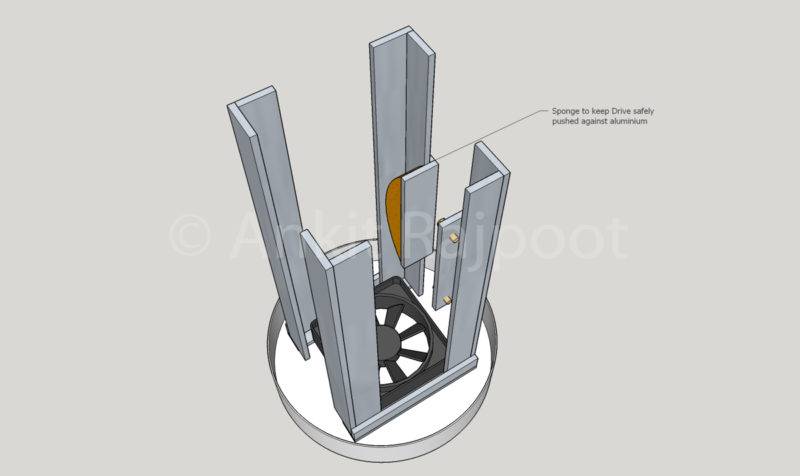
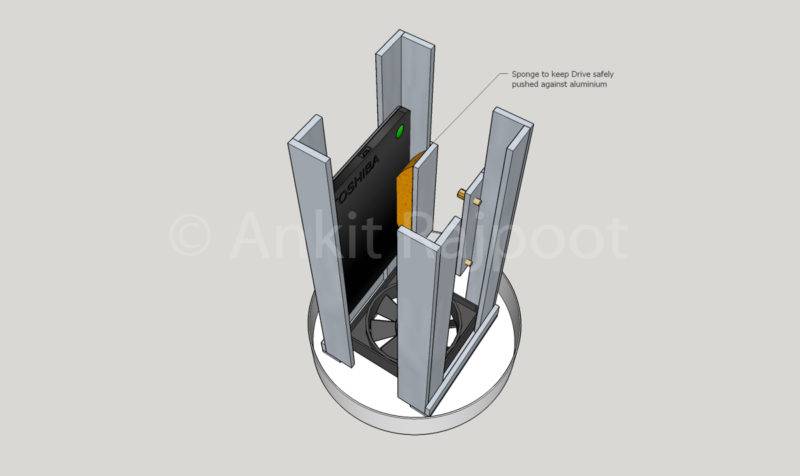
If you use a 2.5″ internal drive, you can easily drill mounting holes in the vertical aluminum bars and fix the drive with screws. With internal drives, use a cheap SATA to USB adapter to connect it to the USB hub. Just make sure that your adapter does not require external power to work.
Mounting the Raspberry Pi
The other smaller bar has holes drilled into it to fix two standoffs to mount the Raspberry Pi. This means that the Pi gets mounted between the two drives and will get plenty of airflow when the fan is running. I plan to write a script for the Pi to monitor its own and the drives’ temperature and run the fan if anything gets too hot for comfort. Given that the Pi has to do a fair amount of media transcoding, good cooling would definitely prevent any thermal throttling and slow streaming performance.
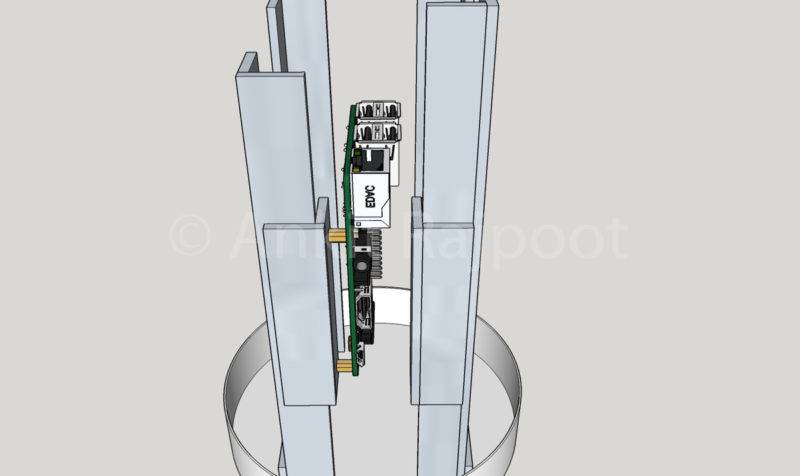
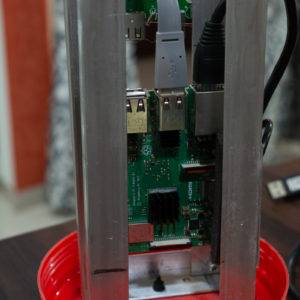
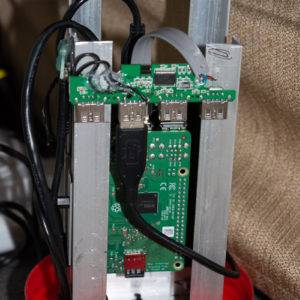
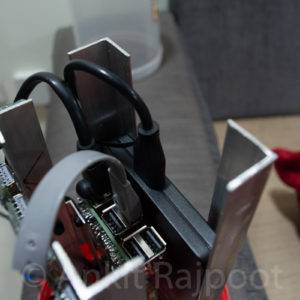
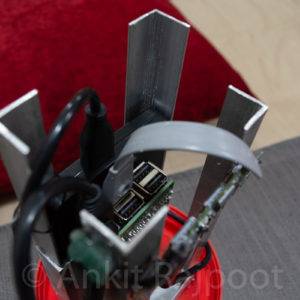
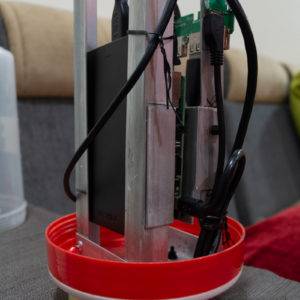
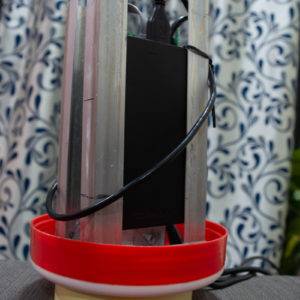
I mounted the USB hub on the back of the large aluminum bars using some hot glue. I am using a cheap non-powered USB hub which I modded to add external power to it. There is an excellent instructable by “msaleiro” that demonstrates how it can be done. The whole aluminum frame is fixed to the base using just two M4 screws. With everything mounted, it was time to connect the cables and route them nicely. Right now, there are three cables running out of a hole I drilled in the base: A CAT-6 LAN cable, and two USB cables. One USB cable powers the Raspberry Pi and the other powers the USB hub.
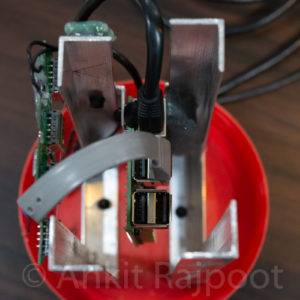
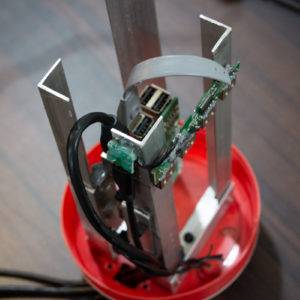
That’s all about the design. Now, some pictures of my build.
Build Pictures
Closing Thoughts
As you can see in the pictures above, the fan is missing because it’s on its way from China. I will update this post with new pics once I have that installed. But, before that, I would have to figure out whether to use it as an intake or exhaust. In any case, I would have to make some holes at the top of the outer shell. Also, the cable situation needs improvement. There are 3 cables coming out of the base right now. I want to keep it to a maximum of two: one for power and one for LAN. I am also exploring the possibility of fixing female LAN and micro USB connectors to the base. The base also needs some decent legs.
Even with all the shortcomings, I am pretty satisfied with how this build turned out. I initially wanted to wrap the outer casing with a carbon fiber vinyl wrap to hide the internals. However, now I kinda like the rugged industrial look of the whole setup. This enclosure is going to be running my raspberry pi media server until I get some time to work on the second version. One thing’s for sure, I like the cylindrical design and I’m going to keep it. I might decide to change the orientation though. I also plan to add LED lighting to the second version.
What do you think about this build?
If you liked this project, please share this post and leave your comments below. If you too decide to build something like this yourself, I’d really love to know more about it. Please share your story.
I regularly make and write about DIY projects. If you like what I share, please consider subscribing.
More Raspberry Pi Projects
Raspberry PI Based DIY Automated Irrigation System [With Pictures]


One Reply to “How-To: DIY Custom Enclosure for Raspberry Pi NAS Media Server”